
Canon Animated Advertisement
Skills: Visual Research, Design Thinking, Sketching, Storyboarding, Motion Graphics, Special Effects, Videography, Illustration
Tools: Adobe After Effects, Adobe Illustrator, Adobe Premiere Pro
Timeline: 2022
Overview
In an effort to diversify my knowledge and skills, I spent a few months exploring the ins and outs of motion graphics. Animation and movement in design has been a rising trend for the past few years, so knowing the skills would help me to be a better content creator.
To test my newfound knowledge, I set out to create a short, animated advertisement for the camera company Canon.
Storyboard & Animatic
Using inspiration from my visual research, it was time to begin structuring the video. On an iPad, I sketched out a nine-frame storyboard. This was a crucial step in the planning process because it allowed me to visualize exactly what the main components of the motion graphic would be.
Based off of the storyboard, it was clear that there were a few assets that would have to be created. Two of these would be illustrations; one of a camera and the other of a lens. Ensuring that these illustrations were created to a high standard before the animation process is a must. Poor illustrations would lead to a poor motion graphic.
In addition to the illustrations, I needed to create type that worked in tandem with the existing Canon logo. Combining the two is not the horribly difficult in itself but animating them properly to complement each other would take more thought.
For this reason, I brought each frame of the storyboard into After Effects and created an animatic. This allowed me to get a better idea of how the assets I would create would interact through motion.
Research
Studying the work of others should always be the first step of the design process. For this project, I conducted visual research on other animated ads. These were mostly found on other social media platforms.


Illustration
Since my high-level illustration ability is one of my greatest assets as a designer, I knew I needed to lean on it in order to create a better overall product in the end.
I began by using Adobe Illustrator’s pen tool to create the basic structure of each of the two assets based off of images from Canon’s website. I then used gradients to create shading and texture throughout each illustration, creating more a more dynamic and realistic image.

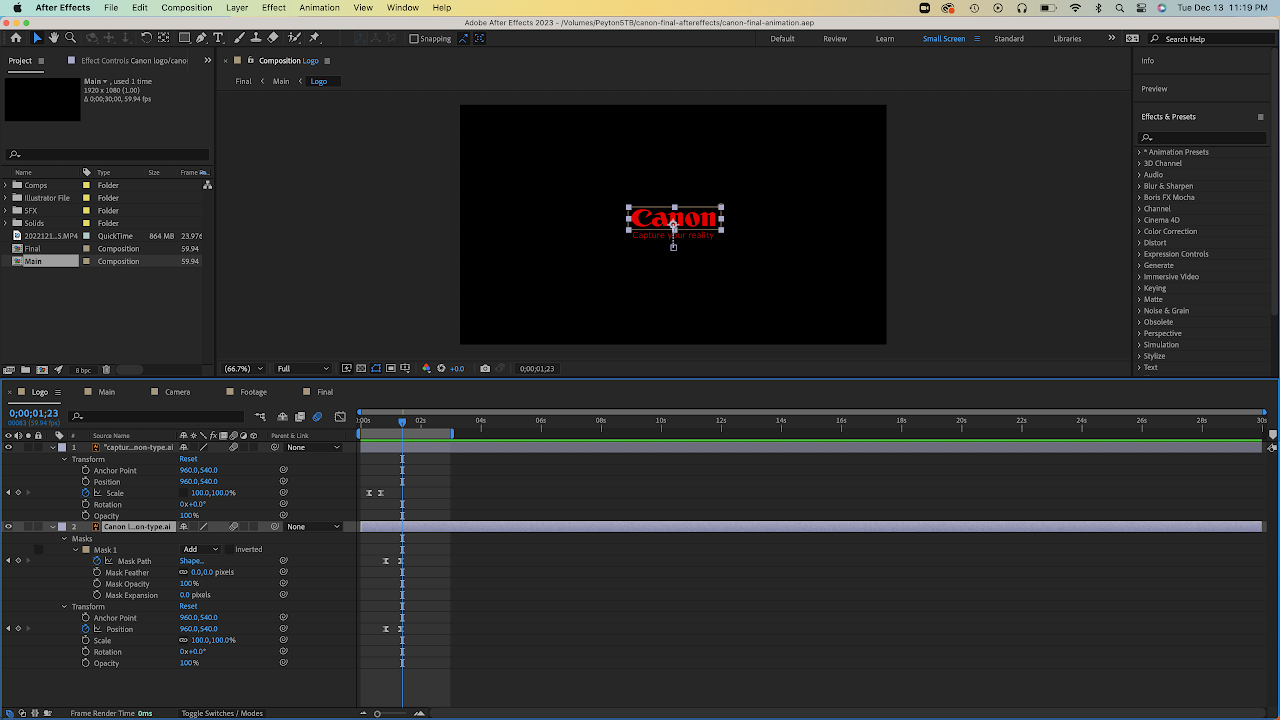
Animation
After creating all of the assets, I began the process of animating them in After Effects based off of the animatic. Thanks to all of the prior planning and preparation, this all went smoothly. After the completion of what was shown in the animatic – with a couple of minor adjustments – I wanted decided I needed to get some input on it.

Viewer Feedback
To test the video’s effectiveness, I showed what was completed to multiple people to receive feedback and critiques in order to improve it. To ensure the best variety possible, some of the people asked were other designers and somewhere not. The following insights were observed through the viewer feedback:
Sound – as it stood, the video felt somewhat lifeless and disconnected from reality. Adding sound design will allow viewers to feel the movement of the motion graphic more.
Visuals – what I had at the moment was fluid and clean; all the viewers enjoyed it. However, the viewers felt that it was lacking and that I could do more with it.
Redesign
Based on the user feedback, I wanted to add another element to the animation. After some thinking and research, I decided on adding real world footage to the beginning of the animation. I felt like this would give an interesting contrast to the animated portion of the video that be captivating to viewers. That being said, this would be a challenge. I would need to ensure that the two parts of the video seamlessly flowed into each other.
As a start, I set up and filmed a clip of my actual camera, the same model as the one in the video. This alone was a challenge as I had to create a setting for the shot and properly light it all in my bedroom without professional equipment.
After filming the clip, I brought it into After Effects and added some effects and movements to make it more dynamic. As for the transition into the animated section of the video, I ensured that the video clip and the animation of the camera lined up exactly between each frame in order to allow for an effective jump cut. Then, I created a glitch effect to give the illusion that the real camera turned into an animated version of itself.
Now that the visuals were complete, it was time to tackle the sound. I made the decision to just stick to sound effects rather than any background music. This gave the video a more natural feel. From there, I matched up movements within the video with sounds that emphasized the visuals they accompanied.

Conclusion
What began as a simple animation turned into a test of multiple forms of media and content creation. Working on such a multifaceted project illustrates a few important points about being a content-creator in today’s world:
Planning is crucial – having a good understanding of the project and how it needs to be executed makes the process of actual creating it much smoother. Research and mockups are an absolute must to any project.
Testing product and getting feedback on it will reveal flaws that you may not have initially noticed. As designers, we create for other people. This is why feedback from stakeholders is so crucial.
Modern content creators need to be well rounded. Learning new skills and being open to them will benefit all of your future work.